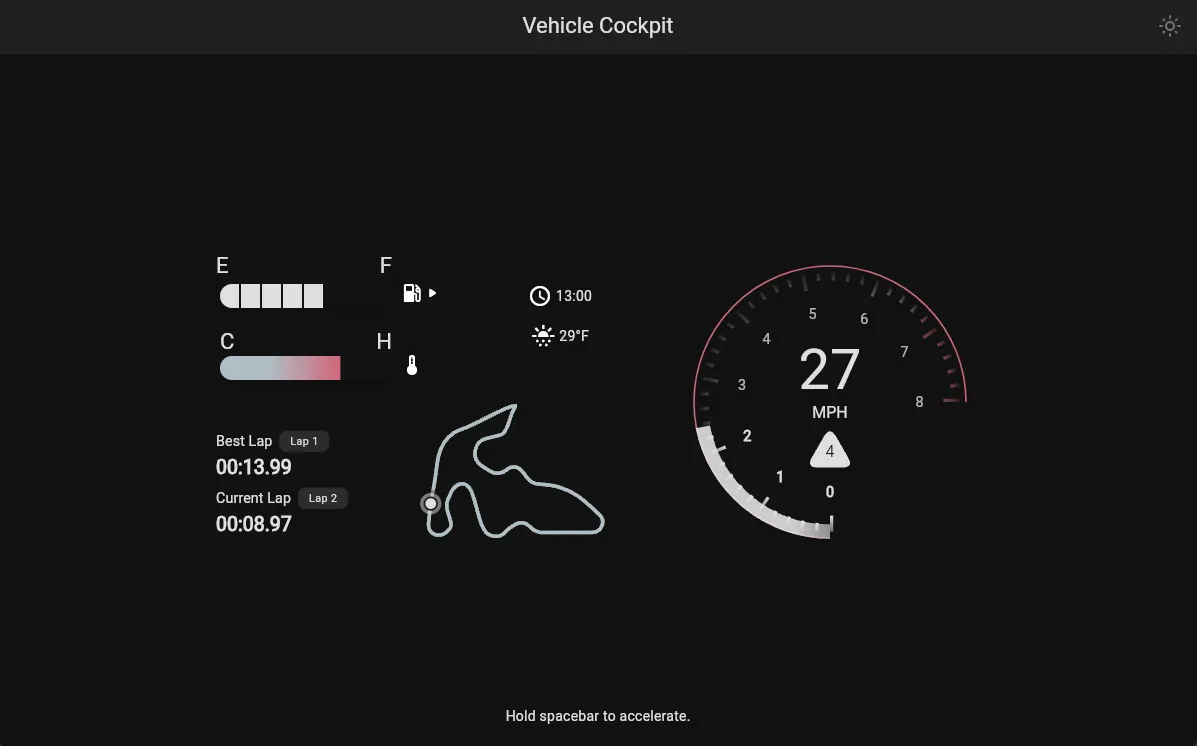
Vehicle Cockpit
The Vehicle Cockpit simulates a real-time speedometer and tachometer as the user accelerates around the track.
The source code for this project is available on GitHub. To view the live demo, click here.
Flame
Flame is a game engine that is built for Flutter. It is used to render and update our gauge. Let’s take a deeper look into how the components that make up the gauge are created and composed together to form a working speedometer and tachometer.
GaugeGame
The GaugeGame is the FlameGame object. All of the components that make up the gauge are added inside of the onLoad method. These components include the GaugeComponent, Speedometer, and the Gear.
  @override  Future<void> onLoad() async {    await add(      gauge = GaugeComponent(        size: Vector2.all(340),        position: size / 2,        maxRpm: (sim.vehicle.engineRpmMaximum / 1000).round(),        dangerZone: (sim.vehicle.engineRpmRedline / 1000).round(),        appTheme: appTheme,      ),    );
    await add(      speedometer = Speedometer(        speed: 0,        position: size / 2 - Vector2(0, 40),      ),    );
    await add(      gear = Gear(        position: size / 2 + Vector2(0, 30),        triangleSize: 60,      ),    );  }
Not only does the GaugeGame add the components to be displayed, it also handles the user input to update the game. As you’ll see below, the GaugeGame can directly call methods on its components, and can also make its variables and methods available to its children.
The GaugeGame relies on a GameLoop to update the components on the screen. This calls the update method where we can update the gauge’s progress, speedometer, and current gear.
  @override  void update(double dt) {    sim.simulate(dt * timeScale, hittingGas ? 1.0 : -1.3);
    gauge.setProgress(      sim.engineRpm / sim.vehicle.engineRpmMaximum,      dt,    );    speedometer.speed = sim.speed;    gear.gearText.text = sim.gear.toString();
    onSpeedChanged(sim.speed);
    super.update(dt);  }
GaugeComponent
The GaugeComponent is a PositionComponent that composes GaugeRing and the components that are needed to display the vehicle’s RPM information: GaugeProgress and GaugeRpmNumbers. These are added in the GaugeComponent’s onLoad method:
  @override  Future<void> onLoad() async {    await add(      GaugeRing(        size: size.clone(),        color: appTheme.colorScheme.error,      ),    );
    const offset = 16.0;    final innerRingPosition = Vector2.all(offset / 2);    final innerRingSize = size.clone() - Vector2.all(offset);    await add(      GaugeProgress(        position: innerRingPosition,        size: innerRingSize,      ),    );    await add(      GaugeRpmNumbers(        position: innerRingPosition,        size: innerRingSize,      ),    );  }
Gauge Ring
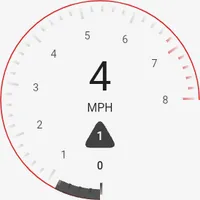
The GaugeRing is a PositionComponent that forms the outline of the gauge. This component simply renders the ring.
Gauge Progress
The GaugeProgress is another PositionComponent object that draws the gradient RPM progress bar that is located just inside of the GaugeRing. The GaugeComponent’s progress value gets set within the GaugeGame’s update method. The GaugeProgress object makes use of the ParentIsA mixin, which gives the component access to the parent component via the parent property.

Gauge RPM Numbers
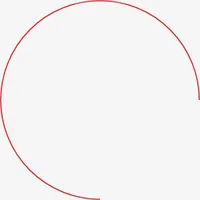
The GaugeRpmNumbers is the last PositionComponent object that is used for the tachometer. This component consist of the GaugeRmpPoint component, that draws the RPM tick marks, and also the GaugeNumberIndicator that draws the RPM numbers below the ticks.
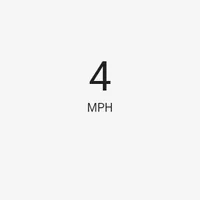
Speedometer
The Speedometer is a TextComponent object that renders the current speed and the “MPH” label to the screen. The Speedometer object uses the HasGameRef<GaugeGame> mixin, which allows it to access variables and methods that are in the GaugeGame class. This makes it easier for the Speedometer to access the GaugeGame’s appTheme and l10n members.
Gear
The Gear is a PositionComponent that renders the vehicle’s current gear inside of a triangle. The gearText is set directly in the GaugeGame.
gear.gearText.text = sim.gear.toString();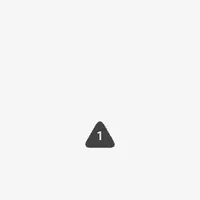
Adding the Gauge to the Widget Tree
To add the gauge to the DashboardPage, we’ll use Flame’s GameWidget. The GameWidget requires a Game object. In this case, that would be our GaugeGame.
final game = GaugeGame(  sim: VehicleSim(vehicle: Vehicles.compactCrossoverSUV),  appTheme: theme,  l10n: l10n,  onSpeedChanged: onSpeedChanged,);
// ...
LayoutBuilder(  builder: (context, constraints) {    final width = min<double>(400, constraints.maxWidth);    return SizedBox.square(      dimension: width * .75,      child: Transform.scale(        scale: width / 500,        child: GameWidget(          game: game,        ),      ),    );  },),
The acceleratorPedalPushed() and acceleratorPedalReleased() can be called on the game object to simulate pressing and releasing the accelerator pedal.
