Layouts
The Flutter documentation provides a great introduction to widget layout. Here, we will cover more detailed use cases with Row, Column, and Listview, specifically focusing on how to best leverage the sizing capabilities of widgets. For this discussion, we will illustrate techniques by using the following box widget — a blue square with rounded edges and padding.
class Box extends StatelessWidget { const Box({super.key}); @override Widget build(BuildContext context) { return Container( height: 100, width: 100, margin: const EdgeInsets.all(10), decoration: const BoxDecoration( color: Colors.blueAccent, borderRadius: BorderRadius.all(Radius.circular(10)), ), ); }}Why Indefinite Sizes
Section titled “Why Indefinite Sizes”In an ideal world, every phone would have the same physical size and resolution. We could give each widget a width and a height that match the design, pixel for pixel. Unfortunately, there are countless number of screen sizes for all kinds of devices, so our code has to intelligently use the space to make designs looks consistent across multiple devices.
Rows and Columns
Section titled “Rows and Columns”Row and Column are the building blocks of all layouts and allow you to lay out a list of widgets in a particular direction — horizontally for rows and vertically for columns. Rows and columns provide three options to help with laying out across their children: MainAxisSize, MainAxisAlignment, and CrossAxisAlignment.
MainAxisSize
Section titled “MainAxisSize”MainAxisSize determines whether a Row or Column will fill the space in the main axis direction. By default, this is set to main MainAxisSize.max, meaning the height will be as large as possible (subject to height constraints). If set to MainAxisSize.min, the column height will shrink so as to only fit its children.
Column( mainAxisSize: MainAxisSize.min, children: [ Box(), Box(), Box(), Box(), ],),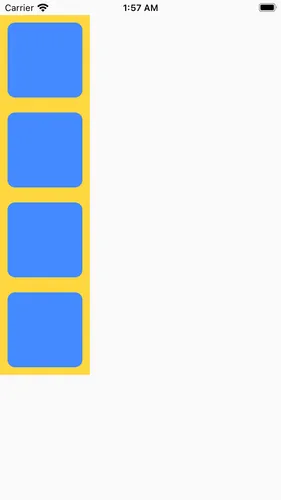
Column( mainAxisSize: MainAxisSize.max, children: [ Box(), Box(), Box(), Box(), ],),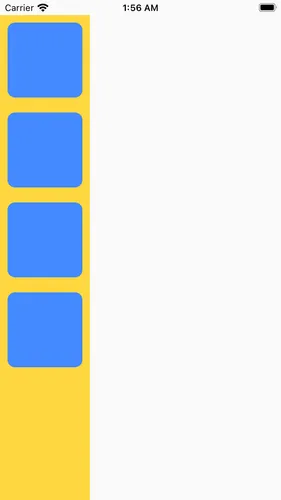
MainAxisAlignment
Section titled “MainAxisAlignment”MainAxisAlignment determines how to lay out the children along the primary axis (vertical for columns and horizontal for rows) when there is extra vertical space available. If there is no extra vertical space, this value will do nothing.
Column( mainAxisAlignment: MainAxisAlignment.start, children: [ Box(), Box(), Box(), Box(), ],),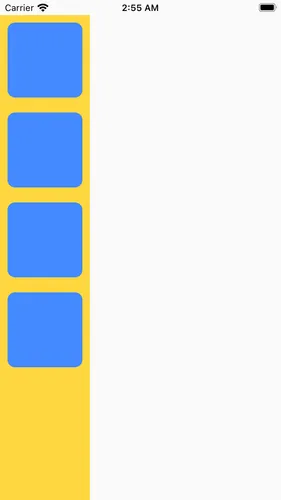
Column( mainAxisAlignment: MainAxisAlignment.end, children: [ Box(), Box(), Box(), Box(), ],),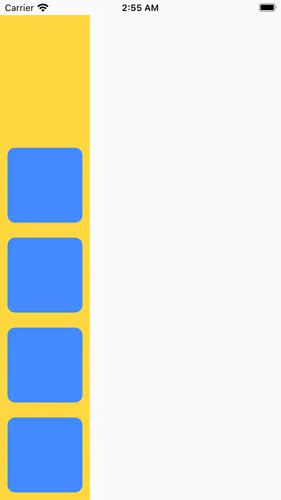
Column( mainAxisAlignment: MainAxisAlignment.center, children: [ Box(), Box(), Box(), Box(), ],),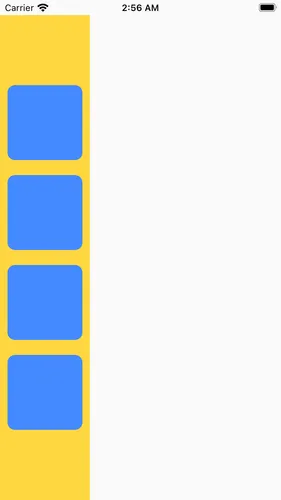
Column( mainAxisAlignment: MainAxisAlignment.spaceAround, children: [ Box(), Box(), Box(), Box(), ],),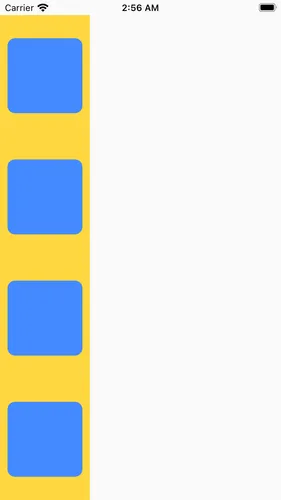
Column( mainAxisAlignment: MainAxisAlignment.spaceBetween, children: [ Box(), Box(), Box(), Box(), ],),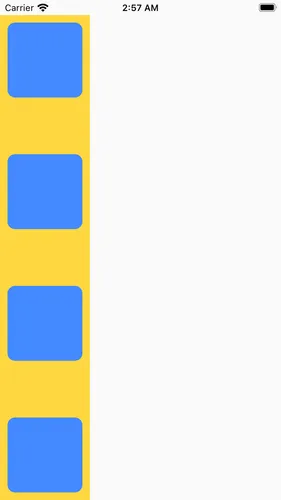
Column( mainAxisAlignment: MainAxisAlignment.spaceEvenly, children: [ Box(), Box(), Box(), Box(), ],),
CrossAxisAlignment
Section titled “CrossAxisAlignment”CrossAxisAlignment determines how to lay out widgets along the alternate axis (vertically for rows and horizontally for columns). The column’s width is set to the size of the largest child (by default). If all the children are the same size and there are no width constraints, this value will do nothing. While start, center, and end will only adjust the position of the widget, stretch will adjust the size of the widgets in the column.
Column( crossAxisAlignment: CrossAxisAlignment.start, children: [ Box(), Box(), Box(), Box(), ],),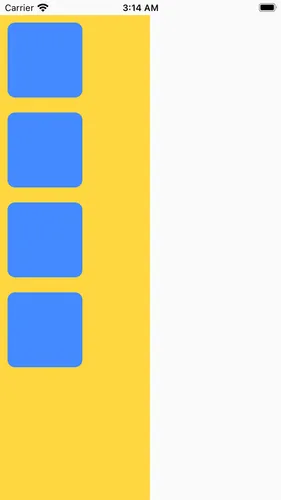
Column( crossAxisAlignment: CrossAxisAlignment.end, children: [ Box(), Box(), Box(), Box(), ],),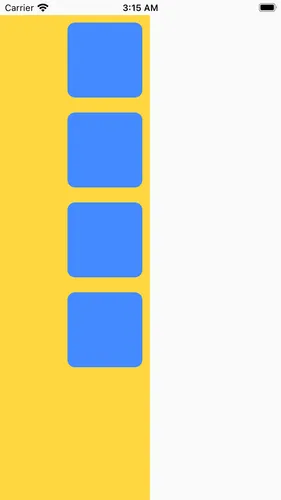
Column( crossAxisAlignment: CrossAxisAlignment.center, children: [ Box(), Box(), Box(), Box(), ],),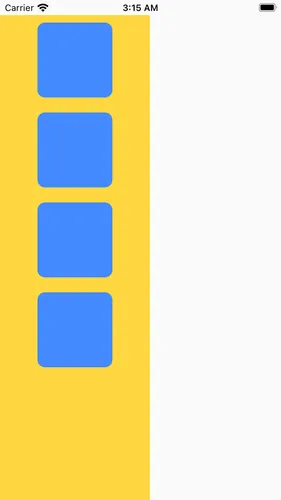
Column( crossAxisAlignment: CrossAxisAlignment.stretch, children: [ Box(), Box(), Box(), Box(), ],),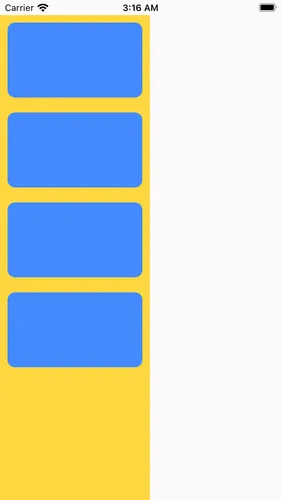
Expanded, Flexible, and Spacer
Section titled “Expanded, Flexible, and Spacer”Within a row or column, you may want different widgets to take up differing amounts of space. Expanded, Flexible, and Spacer widgets are useful for customizing the sizes and positioning of child widgets. These widgets will wrap one of the children in a Row or Column.
Expanded
Section titled “Expanded”The Expanded widget will cause its child widget to expand to fill all the available space across the main axis of its parent widget.
Column( children: [ Expanded(child: Box()), Box(), Box(), Box(), ],),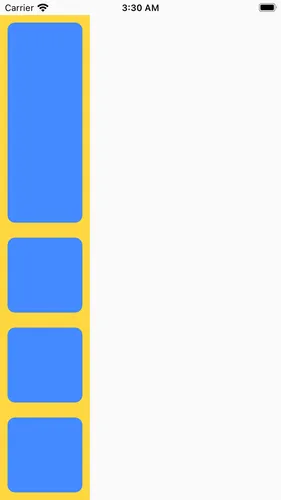
Spacer
Section titled “Spacer”The Spacer widget creates an empty space that fills all the available space across the main axis of its parent widget.
Column( children: [ Box(), Box(), Spacer(), Box(), Box(), ],),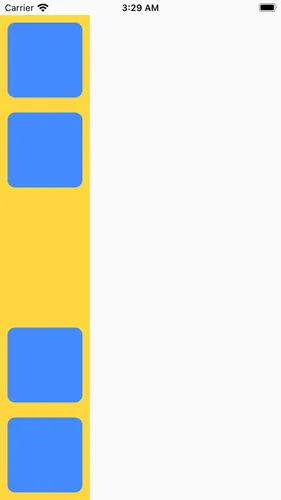
Flexible
Section titled “Flexible”The Flexible widget is a more flexible (pun intended) expanded widget that lets you choose wether to fill the expandable space (or not).
Column( children: [ Flexible(fit: FlexFit.loose, child: Box()), Flexible(fit: FlexFit.tight, child: Box()), Box(), Box(), ],),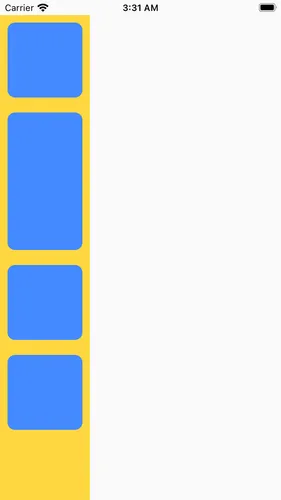
Flex Factor
Section titled “Flex Factor”Expanded, Flexible, and Spacer all have a flex factor parameter. The flex factor specifies a relative size compared to other widgets which also have a flex factor in the same row or column. By default, Expanded, Flexible, and Spacer each have a flex factor of 1.0. If two widgets have a flex of 1, then they are they same size. If one has flex 4, then it will be 4 times bigger than the other. You can use flex factor to size widgets in the column in relation to each other. These widgets are meant used in a Row or Column so that all of the sizing will be done along the desired main axis.
Column( mainAxisSize: MainAxisSize.min, children: [ Expanded(child: Box()), Box(), Spacer(), Box(), Box(), ],),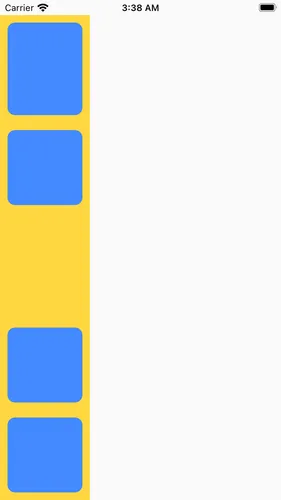
Column( mainAxisSize: MainAxisSize.max, children: [ Expanded(flex: 4, child: Box()), Box(), Spacer(flex: 1), Box(), Box(), ],),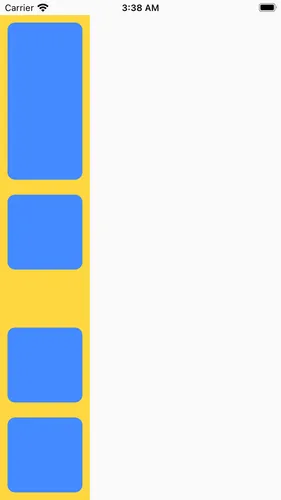
Rules for Parents and Children
Section titled “Rules for Parents and Children”To really understand how widgets are laid out, it helps to understand the relation between parents, their children, and the constraints and sizes set by each of them. The golden rule for layouts is as follows:
Constraints go down. Sizes go up. Parent sets position. — Flutter, Understanding Constraints
Constraints Go Down
Section titled “Constraints Go Down”Constraints that are set by the parent are enforced on the child widgets. If the parent sets a specific size, the child can only expand to fill the space set by the parent.
Container( child: Column( mainAxisSize: MainAxisSize.max, crossAxisAlignment: CrossAxisAlignment.stretch, children: [ Box(), Box(), Box(), Box(), ], ),),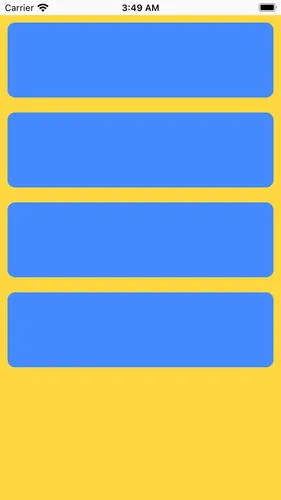
Container( width: 300, height: 500, child: Column( mainAxisSize: MainAxisSize.max, crossAxisAlignment: CrossAxisAlignment.stretch, children: [ Box(), Box(), Box(), Box(), ], ),),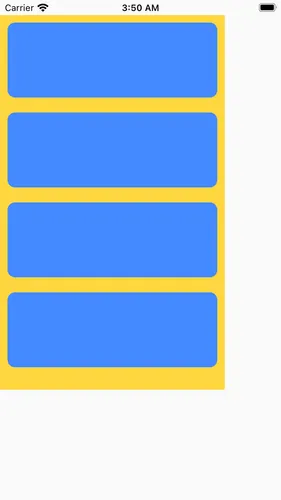
Sizes Go up
Section titled “Sizes Go up”Children set their sizes within parents, but they cannot override any constraints provided by their parent.
Container( child: Column( children: [ Box(), Box(), Box(), Box(), ], ),),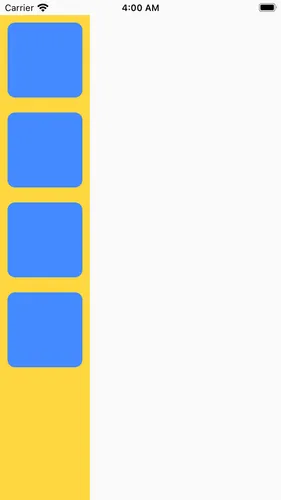
Column( children: [ Container( height: 100, width: 300, color: Colors.redAccent, ), Box(), Box(), Box(), Box(), ],),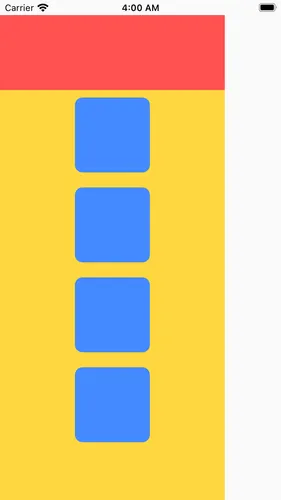
Container( width: 200, child: Column( children: [ Container( height: 100, width: 300, color: Colors.redAccent, ), Box(), Box(), Box(), Box(), ], ),),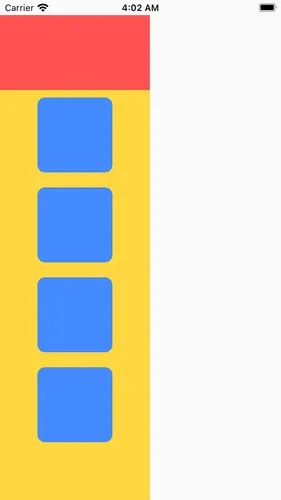
Parent Sets Position
Section titled “Parent Sets Position”Children do not know their absolute position since their position is set by the parent. Consider how the Column widget parameters MainAxisAlignment and CrossAxisAlignment set where the children are in the Column.
Flutter documentation also provides a number of detailed guides regarding constraints1 2 3.
Wrapping and Scrolling
Section titled “Wrapping and Scrolling”Sometimes a list of widgets will grow larger than the space that exists for it. When that happens inside a row or column, you will have overflow. The flutter library solves this by allowing you to make the items wrap or scroll.
The Wrap widget functions like a Row or Column depending on how you set the direction property. When the Wrap widget lays out its children widgets, the widgets will wrap to the next row or column when the end of one row or column has been reached.
The Wrap widget has several properties that are reminiscent of rows and columns. The alignment and crossAxisAlignment properties are equivalent to mainAxisAlignment and crossAxisAlignment, respectively. Wrap also provides extra properties to deal with additional rows that are created by the wrapping effect, like runAlignment and runSpacing.
Listview
Section titled “Listview”Listview will make a scrollable list for its children that scrolls in the direction specified by its scrollDirection. By default, the listview will expand in both the width and height directions, regardless of the specified direction scrollDirection.
The shrinkwrap parameter changes this: when true, the listview’s children will take up the least amount of space available as the listview will bound it’s size in the primary direction to the size of those children. If the children take up more space than is available, the shrinkwrap property has no effect. The listview also provides many other properties to control scrolling and catching.
SingleChildScrollView
Section titled “SingleChildScrollView”A SingleChildScrollView will wrap a widget and make it scrollable. It is ideal to use when making other types of widgets (besides Row and Column) scrollable. When trying to render a list of children, however, it is usually more performant to use a listview over a SingleChildScrollView.
Column( children: [ Box(), Box(), Box(), Box(), Box(), Box(), Box(), Box(), ],),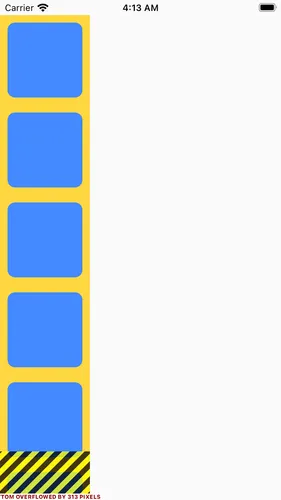
Wrap( direction: Axis.vertical, children: [ Box(), Box(), Box(), Box(), Box(), Box(), Box(), Box(), ],),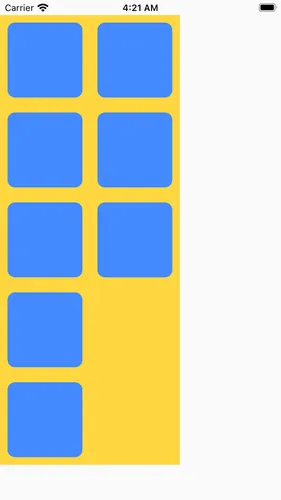
ListView( scrollDirection: Axis.vertical, children: [ Box(), Box(), Box(), Box(), Box(), Box(), Box(), Box(), ],),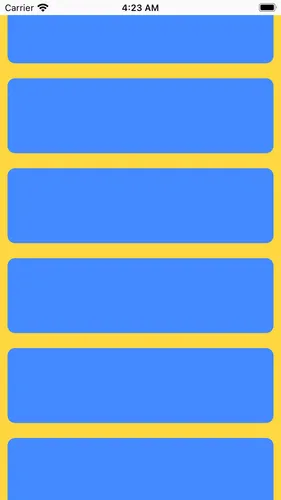
SingleChildScrollView( scrollDirection: Axis.vertical, child: Column( children: [ Box(), Box(), Box(), Box(), Box(), Box(), Box(), Box(), ], ),)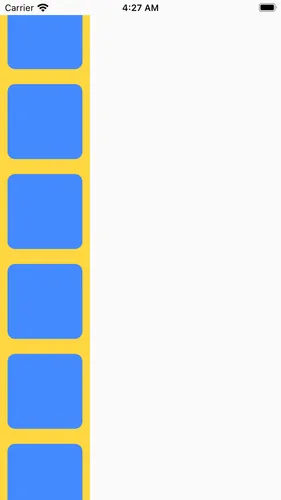
Nesting
Section titled “Nesting”A layout will likely have many nested rows and columns. There is no limit to how many rows and columns can be nested, but it is important to consider the constraints that are present on the rows and columns when nesting these widgets. This is especially true when nesting scrollable widgets or using expanded widgets in a nested row or column.